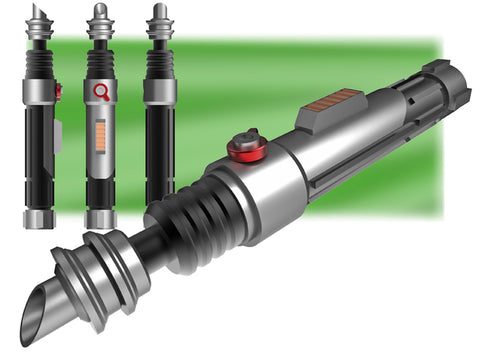
The diagrams are located on the product page. You can find your kit in the links below or you can use the search bar.
Instructions
You can find instructions for taking measurements here.
Before you begin you will need a few materials and tools to work with our kits.
Materials
-
Glue - We recommend Loctite Super Glue but any glue with cyanoacrylate is ideal. Many hobby and model glues will work just fine as well.
- Resin - All of our kits are designed to be coated with resin before sanding and painting. More info on working with resin can be found here.
- Paint - Some chose to use our multi-color kits without paint, but you will probably want to paint our armor, and helmets. Ultimately the choice of paint is up to you.
NOTE: If you are trying to color match a screen accurate prop, we recommend joining FB groups, and the costume club forums. There you can get suggestions for paint colors, and brands. Also google is your friend!
Tools
We recommend the following tools when working with any of our items.
- Heatgun or Hairdryer (be very careful with the heatgun as it can melt the item very quickly)
- Needle Nose Pliers
- Utility Knife or Hobby Knife
- Sand Paper
- Wire Cutters
- Pick
- Tweezers
- Clamps
- Sanding Pencil - Wrap sandpaper around a pencil for sanding the inside of rounded areas.
Cleanup
Our raw 3D printed kits are fresh off the printer and will need to be cleaned up.
Our items are made with thermoplastics. Thermoplastics are plastics which get soft when heated and harden when they cool. This allows us to easily fix minor blemishes with simple tools.
Support Material & Overhangs
Over hanging areas of any 3D printed item needs to be supported during production. This produces waste material called support material.

Support material is typically easy to remove but be careful that you do not damage small parts of the item when removing it. Use needle nose pliers to pull away the support material. Use a scraper to remove any small sections of the support which remain stuck to the model.
Once the support is removed you may see a rough texture where the item met the support material.

This can be cleaned up by scraping any lose strings, zits, or blobs off of the item. Then lightly sand the area with a coarse sand paper 100-150 grit. From here you can simply coat the area with resin, or other fill methods.
Brims & Tabs
Brims are a thin layer of plastic which prevents the item from falling over during production. You may see them around the base of tall skinny parts. Tabs serve to keep the corners of thick models from coming lose or curling up, and to connect small parts.

Brims usually come lose by bending them down and tearing them off. You can then use a knife, or sandpaper to clean up the edge.
Tabs should be cut with a utility knife to maintain the straight edges of the part.
Strings
Stings are small threads of plastic which may appear on the item. These occur when the printer moves from one section to another during production.

Strings are easily removed by scraping the surface with a knife or scraper. After you remove the bulk by scraping, go over the area with a heat gun. Lastly scrape any blobs which formed.
Fitment
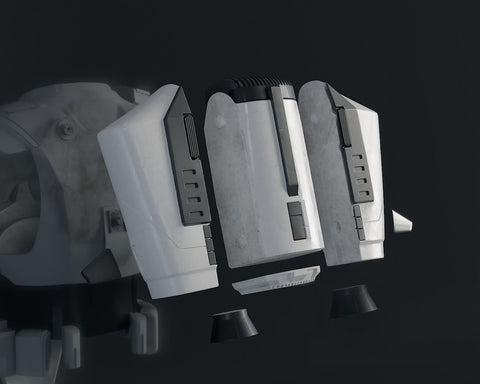
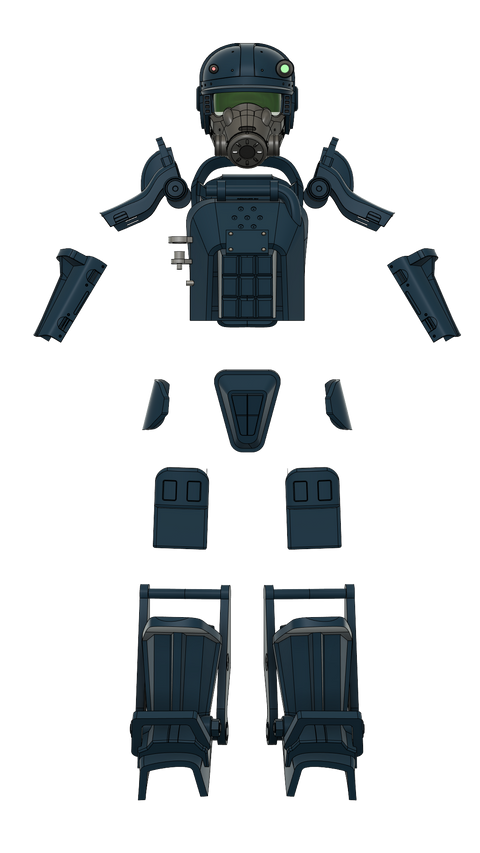
Before gluing anything you should test fit all of the parts. You may need to cleanup the inside of holes, or sand small areas for proper fitment. Refer to the kit diagram for part location.
Holes
You can scrape the inside of holes with a utility knife to remove any excess material. Sand the inside of the hole with a sanding pencil or a rat tail file. If you are having issues with a particular part you can soften it with a heat gun to get it to fit. BE CAREFUL IT WILL MELT!!!
Moving Parts
Many of our kits include moving triggers, buttons, and other moving parts. Carefully test fit each moving section and ensure it moves as it should. You will need to sand the parts a little to get smooth movement.
Note: If coating with resin you will need to sand a little extra to increase the clearances between the moving parts. Thin the resin a little and apply a very thin coat to the contact area of each moving part. Sand the contact areas again after the resin cures.
Connectors and Joints
Textured Joints
Textured joints are not flush with each other due to print lines or excess material on the mating surface. For Textured joints we recommend that you tape a piece of sandpaper to a table and sand the part by sliding it over the sandpaper. This makes for a nice flat edge. Use a sanding block on areas you cannot table sand.
Curled or Warped Joints
Curled or warped joints are surfaces that are flush but the edges curl up so there is a gap at the joint. To fix these we recommend heating the part with a hair dryer or heatgun. -----> (!!! CAUTION: If you get it too hot it will melt!!!!) Slightly heat the joint by quickly moving the dryer back and fourth over the area. You want to soften the plastic but not melt it. Pay attention to the geometry around the curled area, yo may need to keat up the sides a little to get the part to flex. Once the joint is soft press the parts edge firmly to a flat surface, and hold until cool. This will make the joint flat, and allow the glue to adhere.
NOTE: The heat gun is your friend! Our items are made from thermoplastics which means you can easily fix or repair almost anything!
Resin Printed Lenses
We are now offering transparent resin printed parts with some of our kits. These offer superior transparency but need a bit of work to get there.
To avoid yellowing please keep the transparent parts out of the sun and away from other UV lightsources until after clear coating!
The lenses will be translucent when they arrice. You will need to wet sand these parts with 1000-2000 grit sandpaper, and then clear coat them to make them transparent.
Assembly
Following the assembly diagram found on the product page glue each part together. You may want to use clamps, rubber bands, or tape to temporarily hold sections together.
Glue each section making sure each mating surface is flush. If you are not painting the kit, be careful not to get any glue on the visible parts of the finished kit.
TIP: If you find a section is not flush, you can apply glue to the smoothest side of the joint, and barely soften the other side with a heat gun. Quickly push the sections together for a strong permanent connection. Be careful to match the parts up exactly before you press them together!
OPTIONAL: We include 3D printed screw heads with many of our kits. You can drill out the areas where the screw heads go, and use metal screws instead.
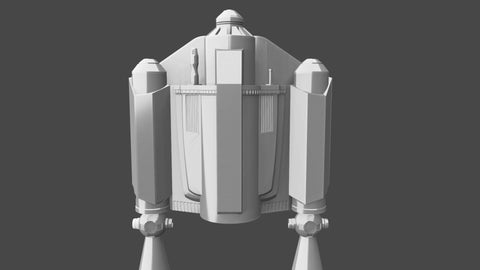
Smoothing
To get a nice finish on any of our items you will need to take care of the print lines. Print lines are an inherent feature of FDM 3D printed items. Each layer is deposited one at a time, which leaves a small horizontal seam. As well as a visible vertical seam as seen in the middle image.

Our layer heights vary between the first and middle image, depending on the size and detail level of the part. We love print lines, but you may want a smooth surface. This can be done in several ways.
- Sanding - It is possible to finish the kit with several iterations of sanding, priming, and then sanding again. This is the fun way, but we don't recommend you have that much fun! This method will weaken the item.
- Fillers - Technically it is possible to use fillers thick such as Bondo, wood putty, ect. but you probably shouldn't. In our experience this method results in much more work than is necessary.
- Resin Coating - The best way to finish our kits is to coat them with resin. This allows for smooth surfaces, adds a significant amount of strength to the prop, and can even add a little weight. All of our kits were designed to be used with resin not sanded and primed! Learn more about resin here.
Paint
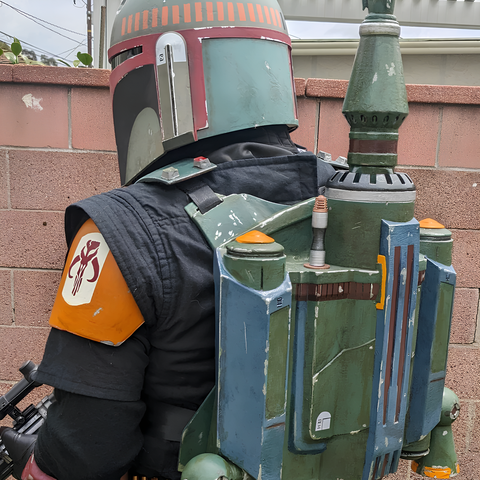
We leave this up to the customer. Post pics when your kit is complete. We love to see customer builds!
NOTE: If you are trying to color match a screen accurate prop, we recommend joining FB groups, and the costume club forums. There you can get suggestions for paint colors, and brands. Also google is your friend!
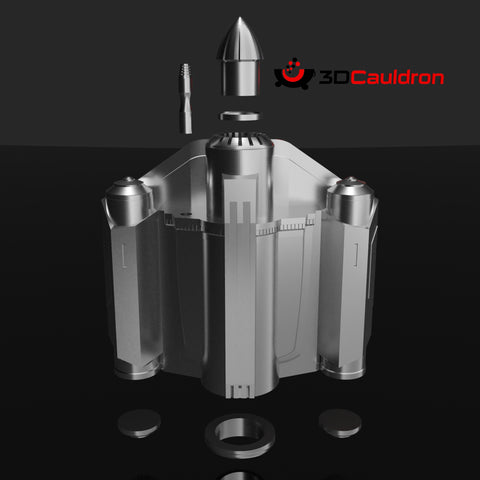
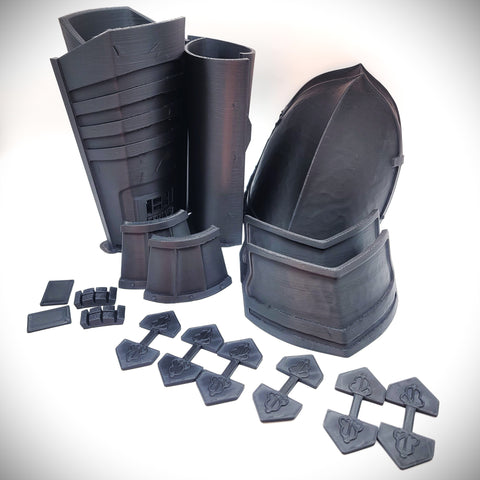
Kit Diagrams
-
3D Cauldron
-
Appalachin Forgery - app_forgery
-
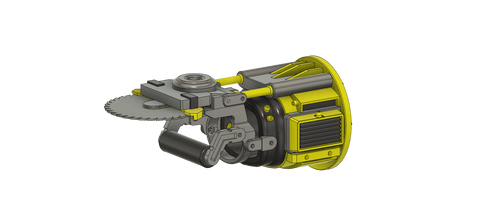
Fallout Industrial Hand
-
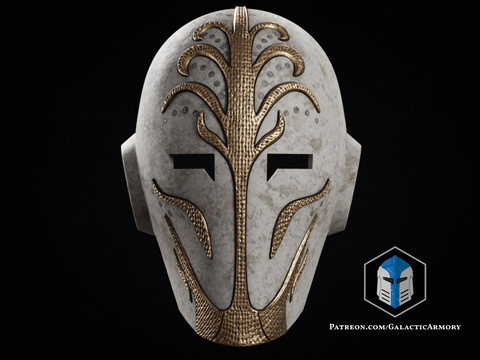
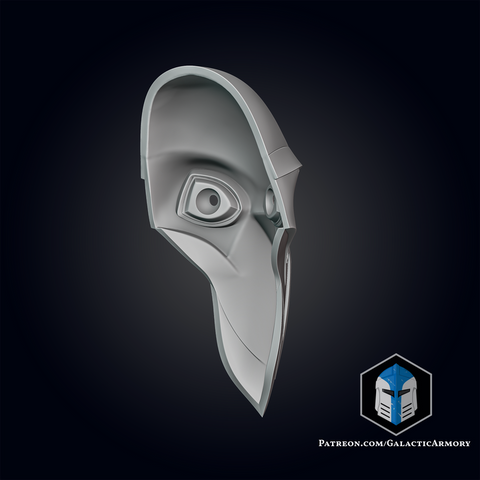
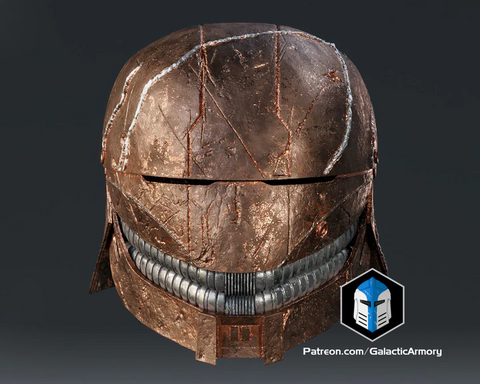
Fallout Reclaimed Deep Mining Gas Mask

-
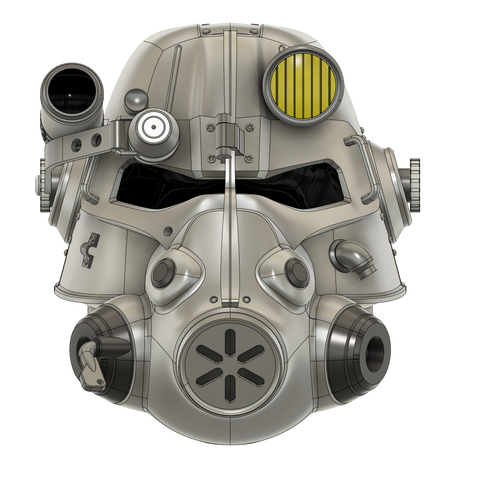
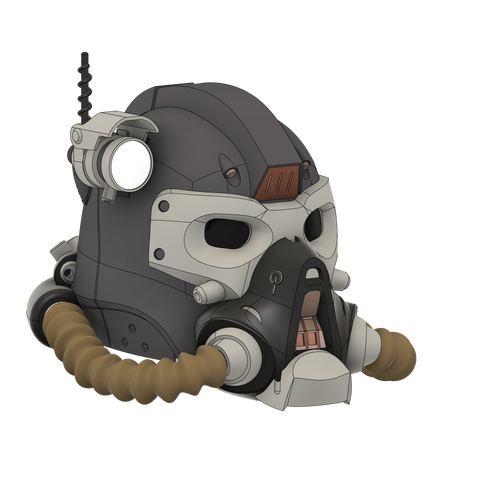
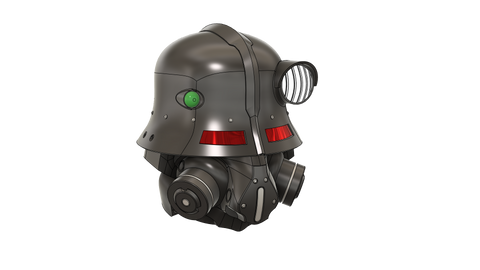
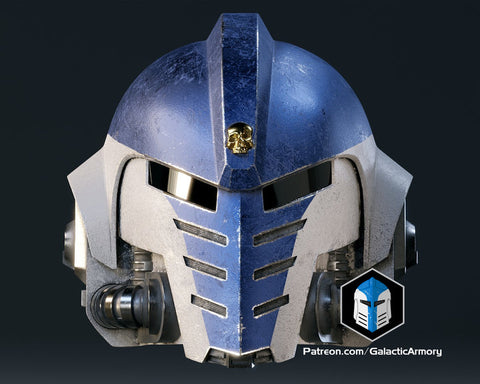
Fallout T-45 Power Armor Helmet
-
Fallout Anomaly Astronaut Helmet
-
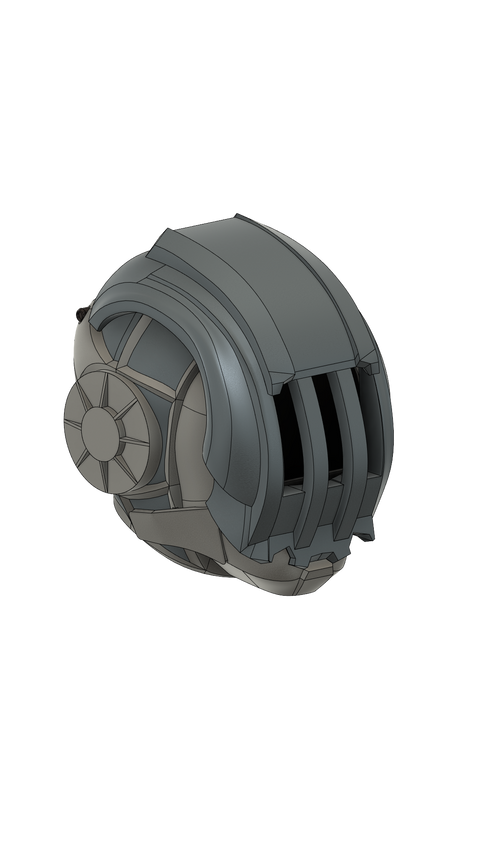
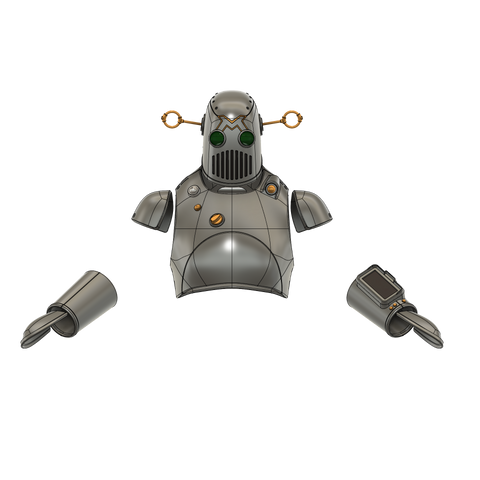
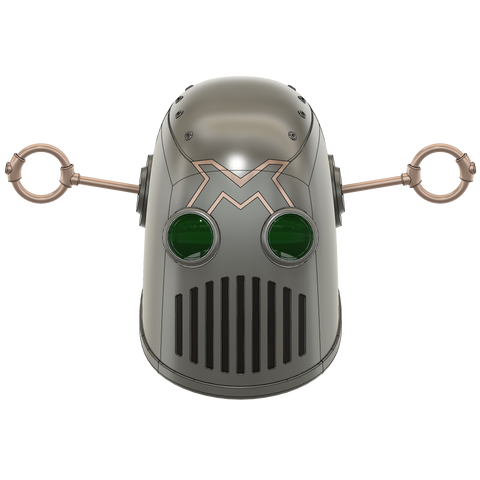
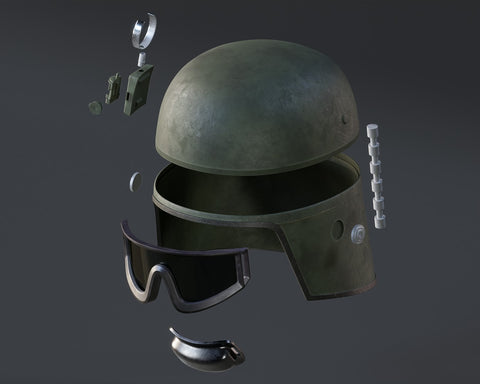
Fallout Sentry Bot Helmet
-
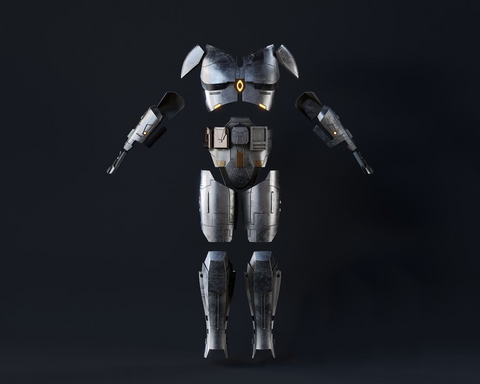
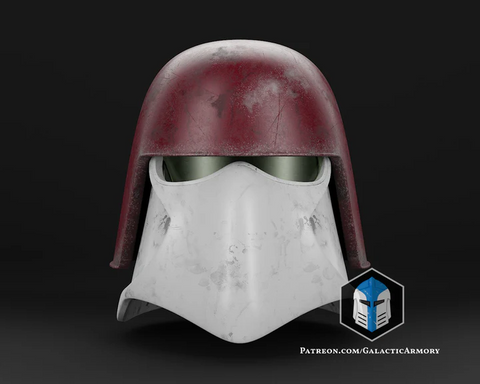
Fallout Secret Service Helmet

-
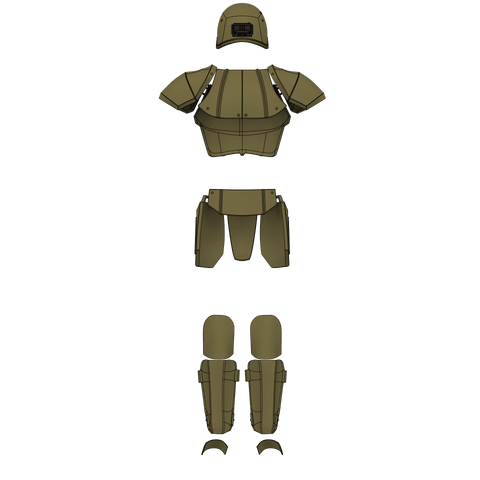
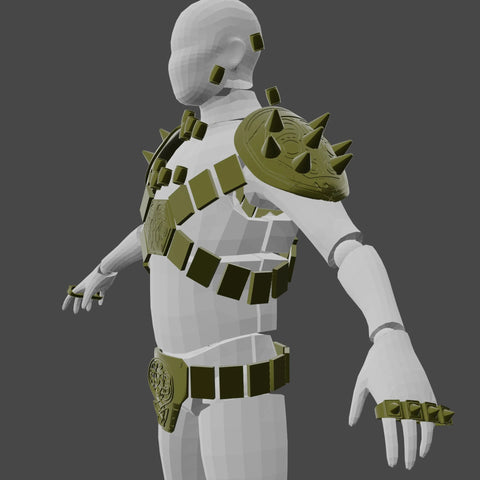
Fallout Mechanist Armor
-
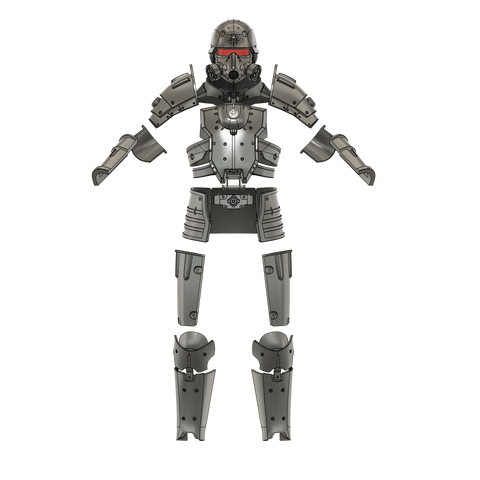
Fallout Combat Armor | New Vegas
-
Fallout Secret Service Armor
-
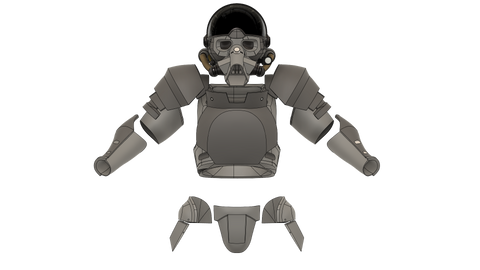
Fallout BOS Recon Armor
-
Fallout Marine Armor
-
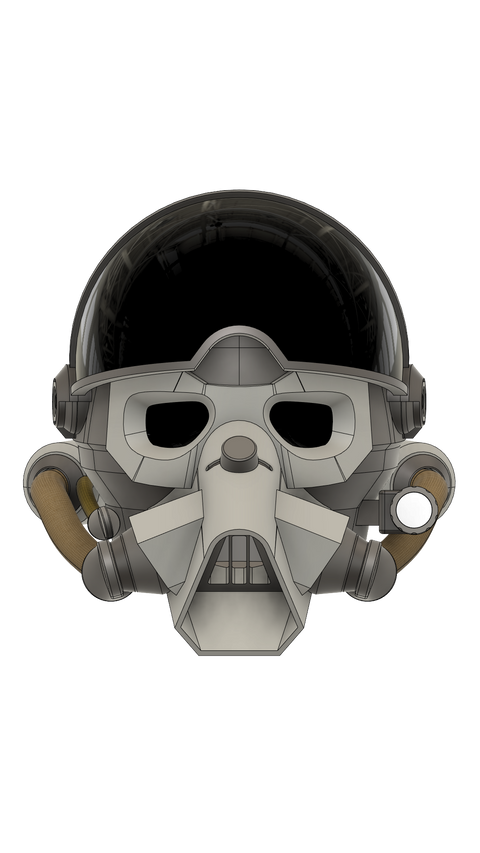
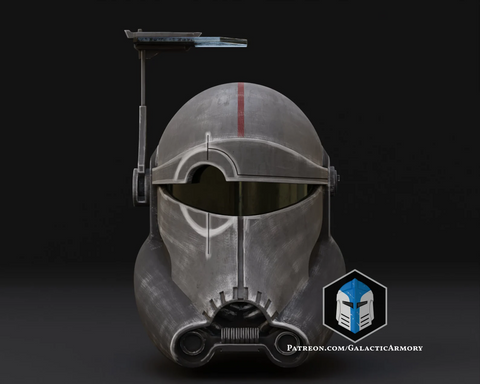
Fallout Brotherhood Recon Helmet
-
Fallout Combat Armor Helmet
-
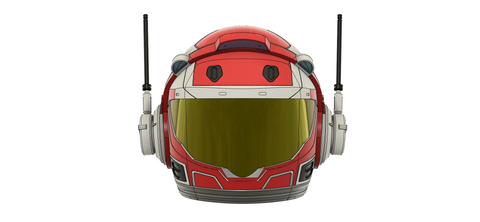
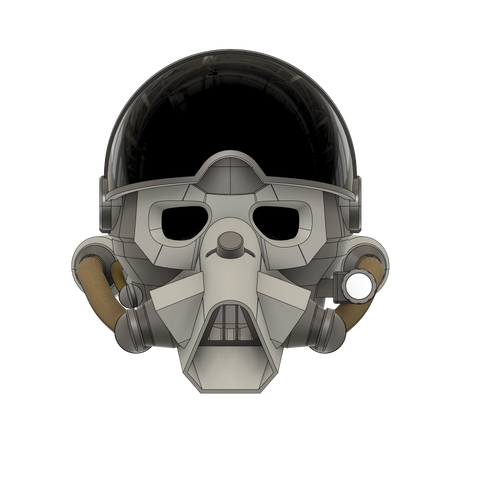
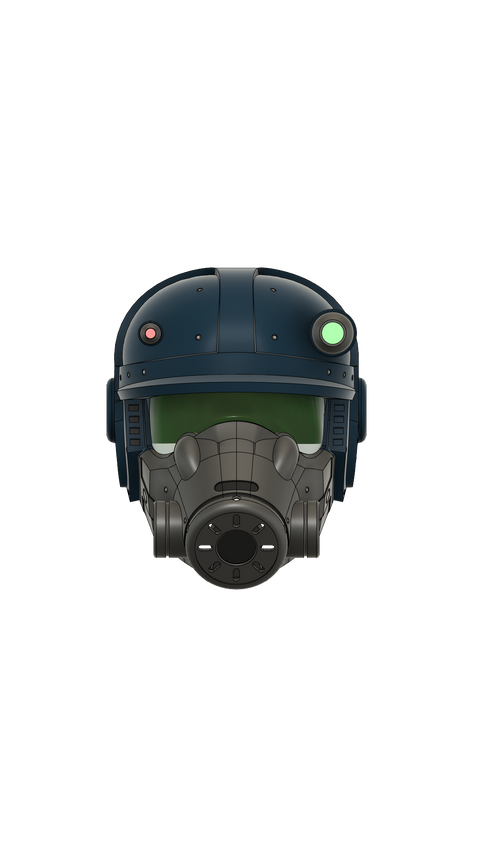
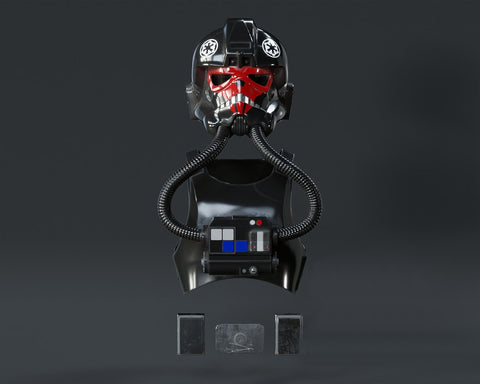
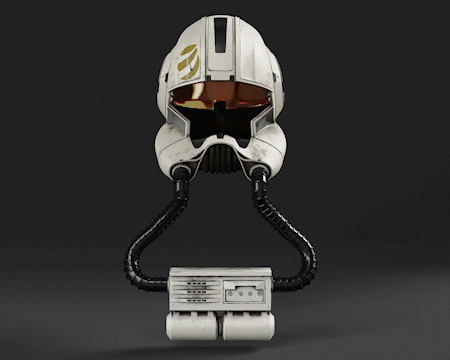
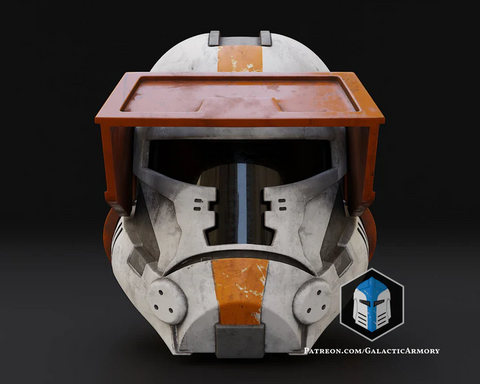
Fallout Flight Helmet
-
Fallout Mechanist Helmet
-
Fallout Operable Secret Service Helmet
-
Fallout T-65 Power Armor Helmet
-
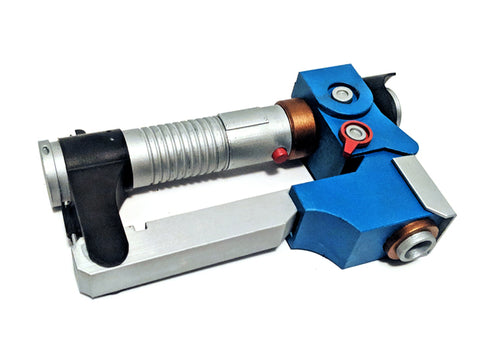
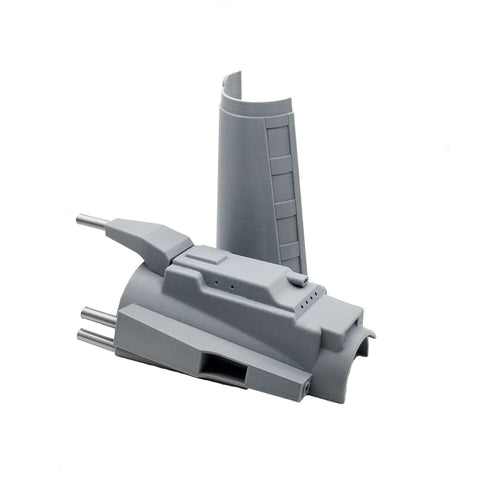
Fallout Zap Glove
-
Fallout Brotherhood of Steel Helmet
-
Fallout Enclave Scout Mask
-
Fallout Marine Armor Helmet
-
Fallout Secret Service Helmet
-
Fallout Responders Power Armor Helmet
-
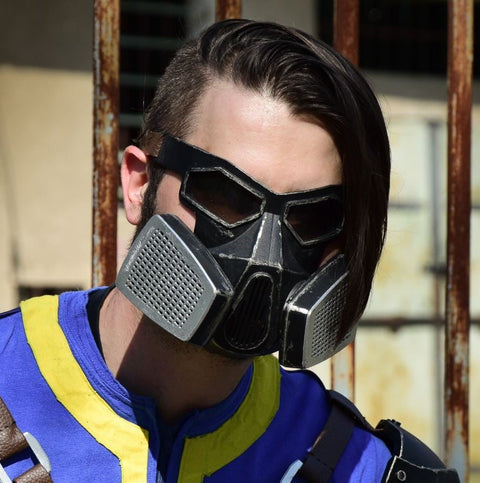
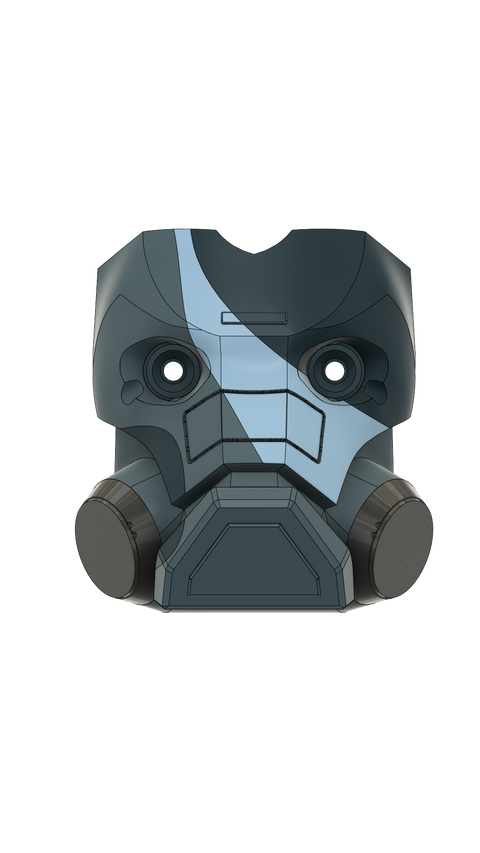
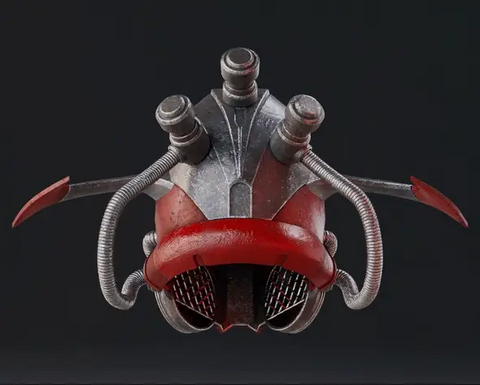
Fallout Assault Gas Mask

-
-
Armor Sets
-
Pipboy 3000

-
Paz Clean Armor

-
Fallout 76 Pipboy

-
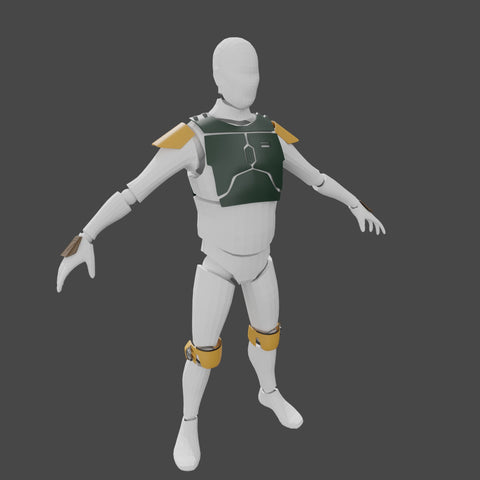
Boba Vambraces
-
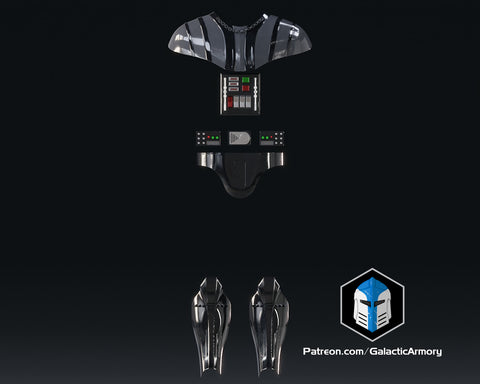
Darth Armor & Helmet
-
Fallout T-45 Power Armor Helmet
-
BOBF Armor
-
Combat Armor
-
Fallout Mechanist Armor
-
Fallout Combat Armor | New Vegas
-
Fallout Secret Service Armor
-
Fallout BOS Recon Armor
-
Fallout Marine Armor
-
Fallout Responders Power Armor Helmet
-
Fallout Marine Armor Helmet
-
Fallout Zap Glove
-
Fallout T-65 Power Armor Helmet
-
Fallout Combat Armor Helmet
-
Praetorian Guard Armor
-
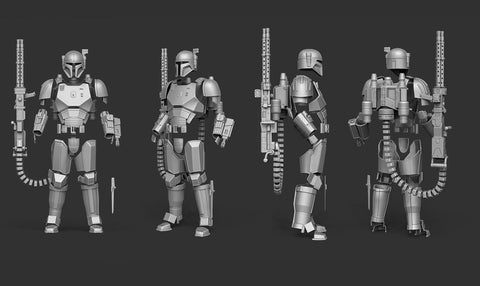
Snow Trooper Helmet and Armor
-
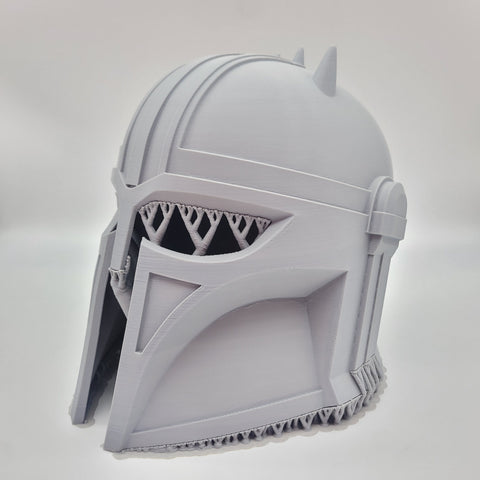
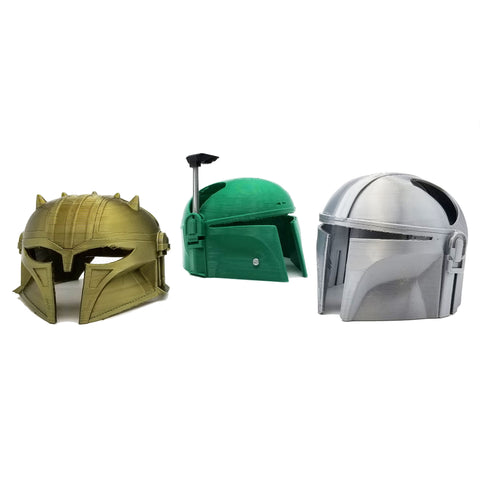
Din Djarin Beskar Armor

-
Imperial Mandalorian Commando Armor
-
Baylan Skoll Armor
-
Tie Fighter Helmet and Armor
-
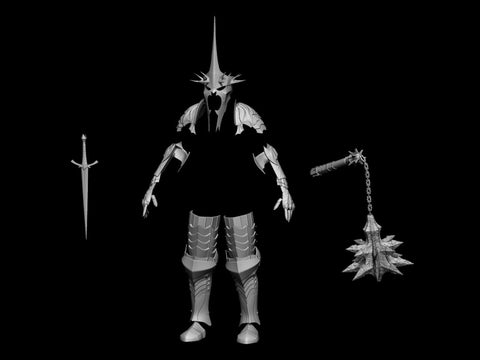
Witch King Helmet & Armor
-
Old Republic Jedi Armor
-
Black Krrsantan Armor
-
Galactic Armorer Helmet
-
Armorer Helmet
-
Cat Hats
-
BOBF Gauntlets
-
Sabine Wren Backplate

-
The Armorer Kit
-
Cad Bane Gauntlets
-
Bo-Katan Armor
-
The Armorer Jetpack
-
Ezra Bridger Jetpack & Backplate
-
-
Best Selling Products
-
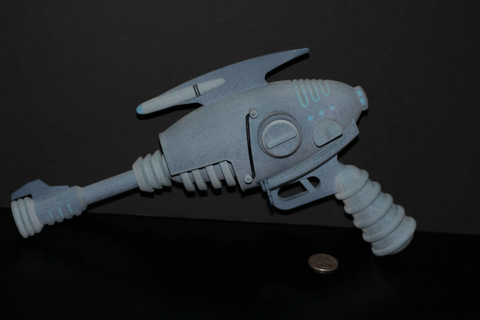
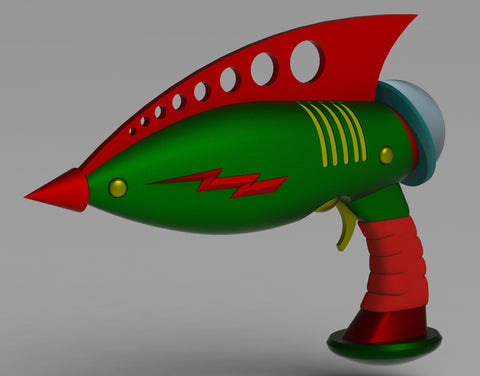
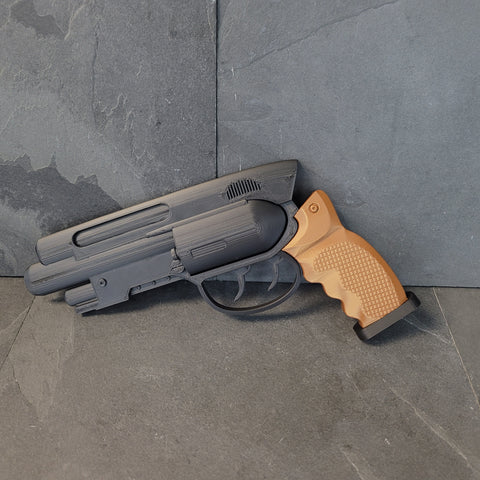
Blaster Kits
-
Ceredir Cosplay
-
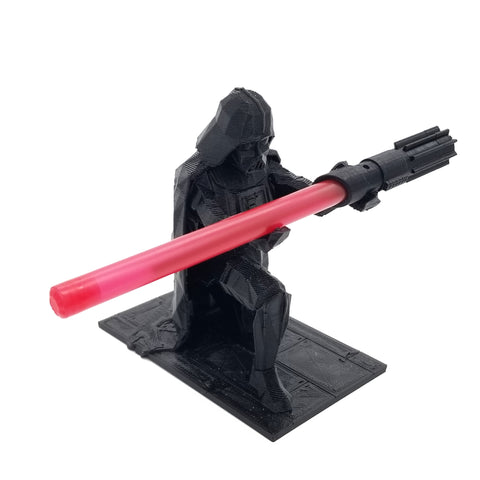
Figurines
-
Galactic Armory
-
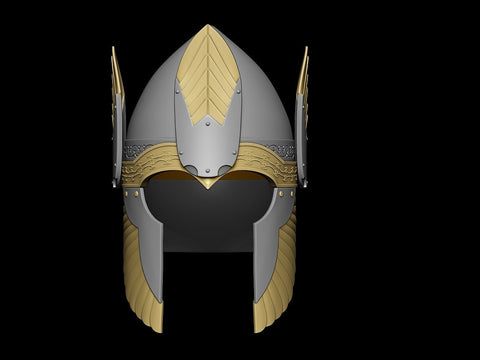
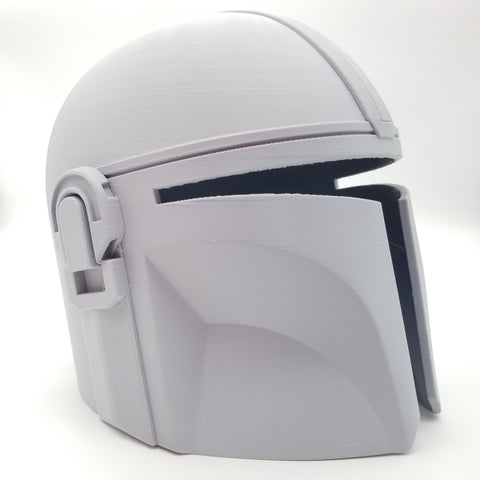
Helmets
-
Fallout Secret Service Helmet
-
Fallout Sentry Bot Helmet
-
Fallout Responders Power Armor Helmet
-
Fallout Secret Service Helmet
-
Fallout Anomaly Astronaut Helmet
-
Fallout Marine Armor Helmet
-
Fallout Brotherhood of Steel Helmet
-
Fallout T-65 Power Armor Helmet
-
Fallout T-45 Power Armor Helmet
-
Fallout Operable Secret Service Helmet
-
Fallout Mechanist Helmet
-
Fallout Flight Helmet
-
Fallout Combat Armor Helmet
-
Fallout Brotherhood Recon Helmet
-
Numenorean Soldiers Helm
-
The Mandalorian Beskar Helmet
-
Ragnar Foundling Helmet

-
Gimli Helmet
-
Miriel Queen Regent Helmet
-
Snow Trooper Helmet and Armor
-
McVader Helmet
-
Mouth of Sauron Helmet
-
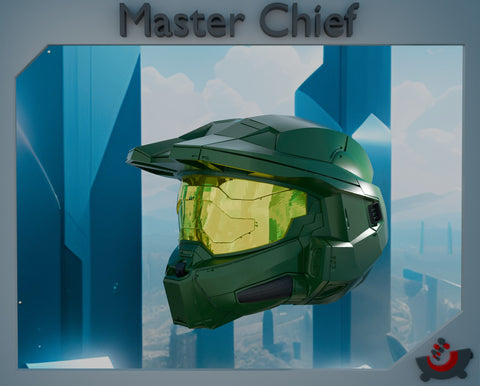
Master Chief Helmet
-
Uruk Hai Helmet
-
Eowyn Helmet
-
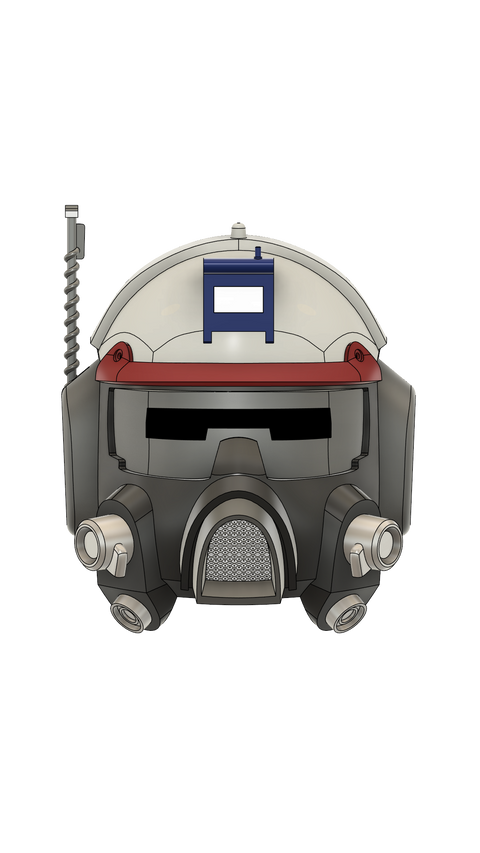
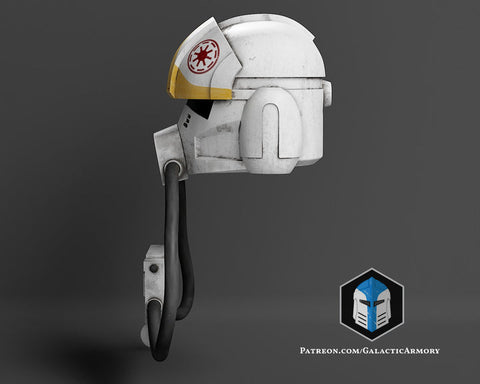
ARC 170 Pilot Helmet
-
Tie Fighter Helmet and Armor
-
Animated Pilot Helmet
-
Witch King Helmet & Armor
-
Paz Clean Heavy Infantry Mando Damaged
-
Thorin Crown
-
Crosshair Helmet
-
Daemon Targaryan Helmet
-
Black Power Ranger Helmet
-
Wolf Mando Helmet
-
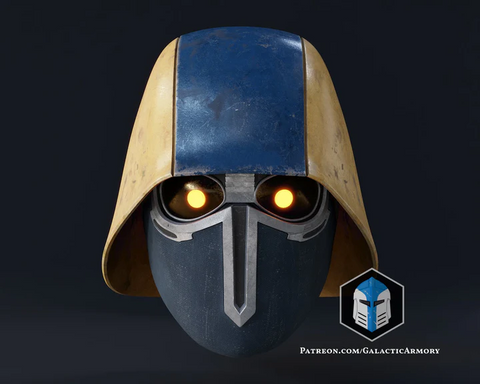
Moff Gideon Helmet
-
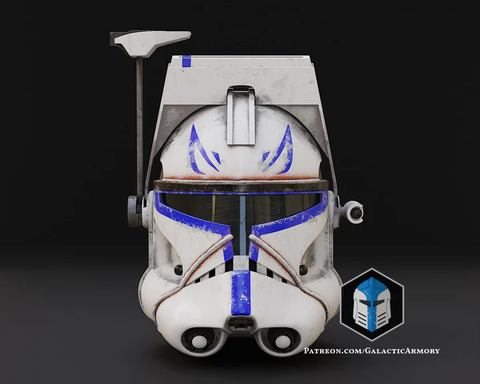
Captain Rex Helmet
-
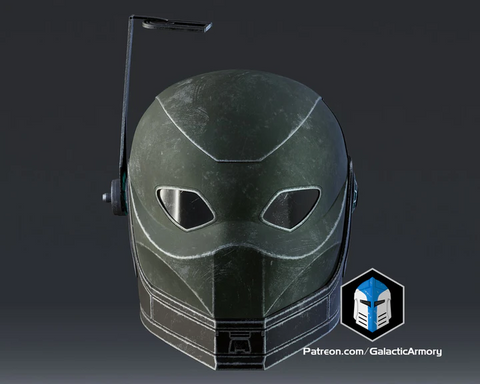
Clone Assassin Helmet
-
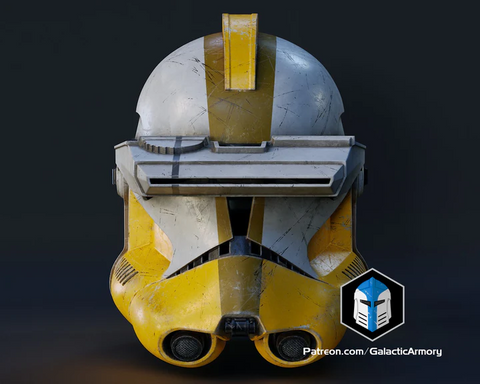
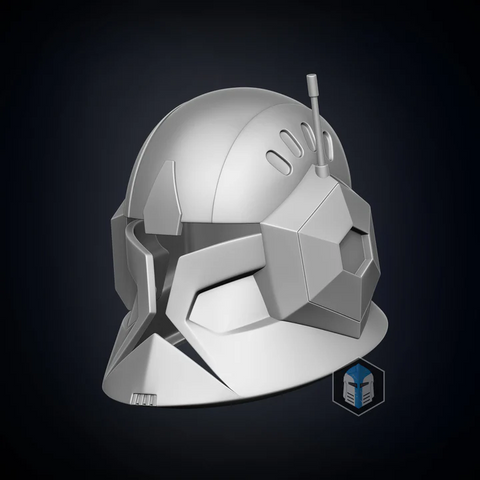
Commander Bly Helmet
-
Coruscant Security Force Helmet
-
Acolyte Stranger Helmet
-
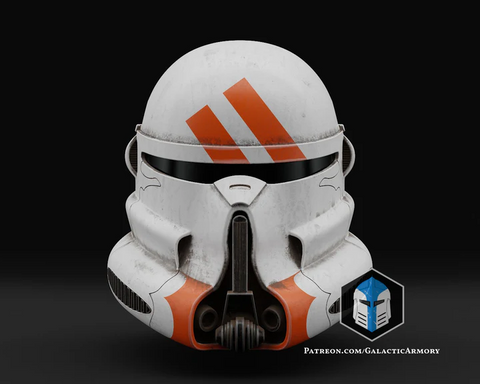
Airborne Trooper Helmet
-
Spec Ops Trooper Helmet
-
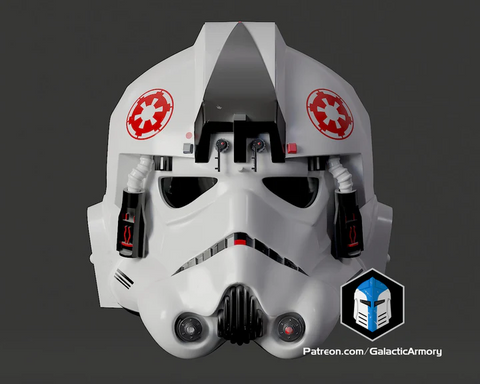
AT-AT Driver Helmet
-
AT-ST Driver Helmet
-
Galactic Marine Helmet
-
Havok Trooper Helmet
-
Marchion Ro Helmet
-
Purge Trooper Helmet
-
-
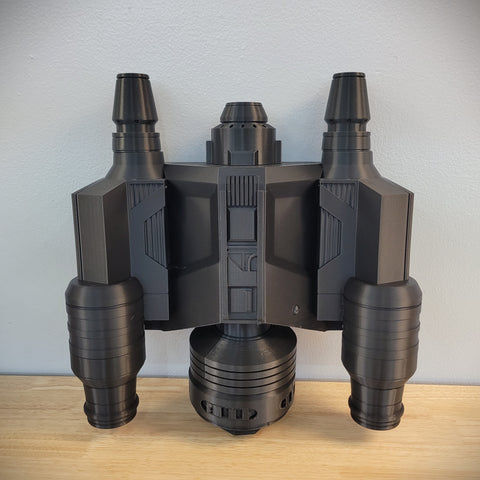
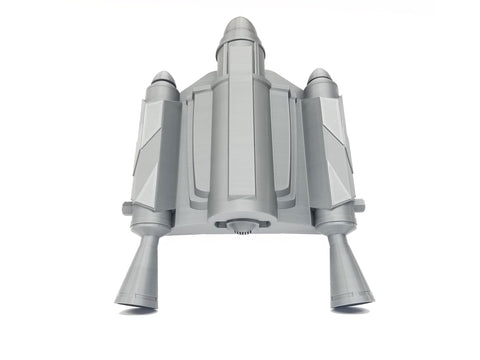
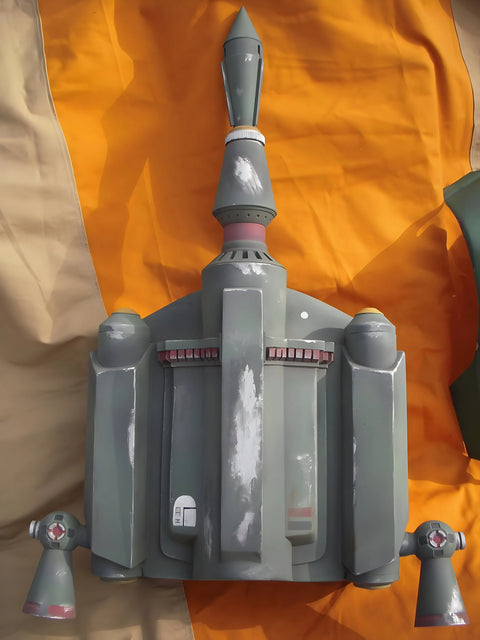
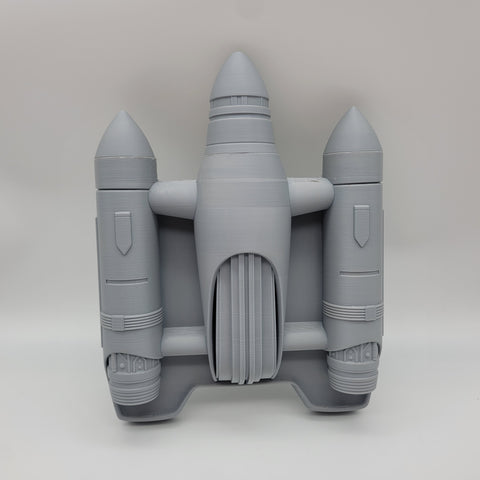
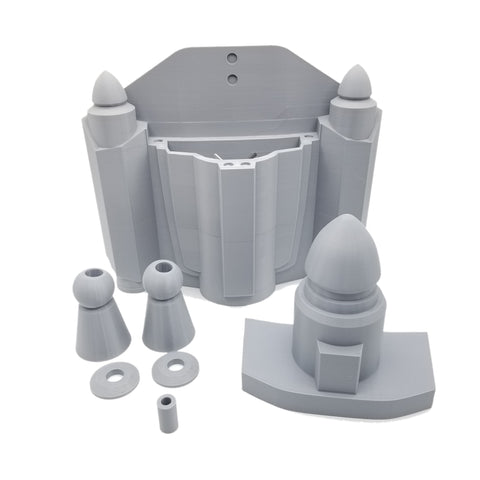
Jet Packs
-
Masks
-
Newest Products
-
Other Props
-
PPG Accessories
-
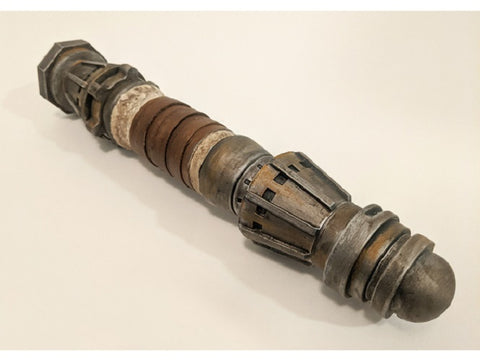
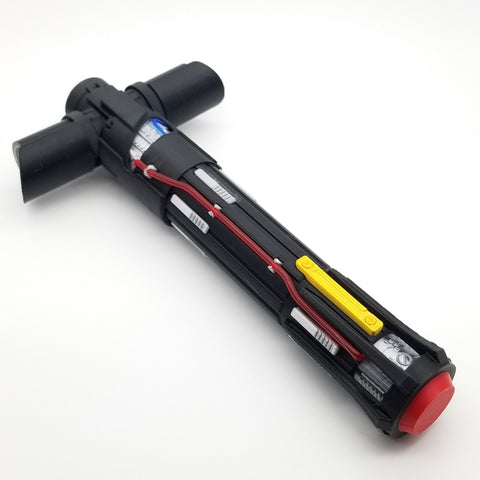
Saber Kits
-
Seasonal & Holiday